Configuring Elafent with Azure
Last Updated: 25 October 2022
You can connect the Elafent Cloud Platform (ECP) with Azure Active Directory (Azure AD) to use your company's Azure credentials to login to your ECP account via Single Sign-On (SSO) with SAML v2.0. After that, you can -
Control in Azure AD who has access to the ECP
Enable your users to be automatically signed-in to the ECP with their Azure AD accounts
Manage your accounts in one central location – the Azure portal.
In this document, we will go through the steps to enable SSO by integrating the ECP with your Azure AD.
PRE-REQUISITES FOR CONFIGURING THE ELAFENT APP WITH AZURE AD
An ECP SSO enabled subscription
Be the ECP owner or have administrator privileges
An Azure AD subscription.
Create the Elafent App in Azure AD
Step 1 - Sign in to Azure AD & navigate to the Enterprise Applications
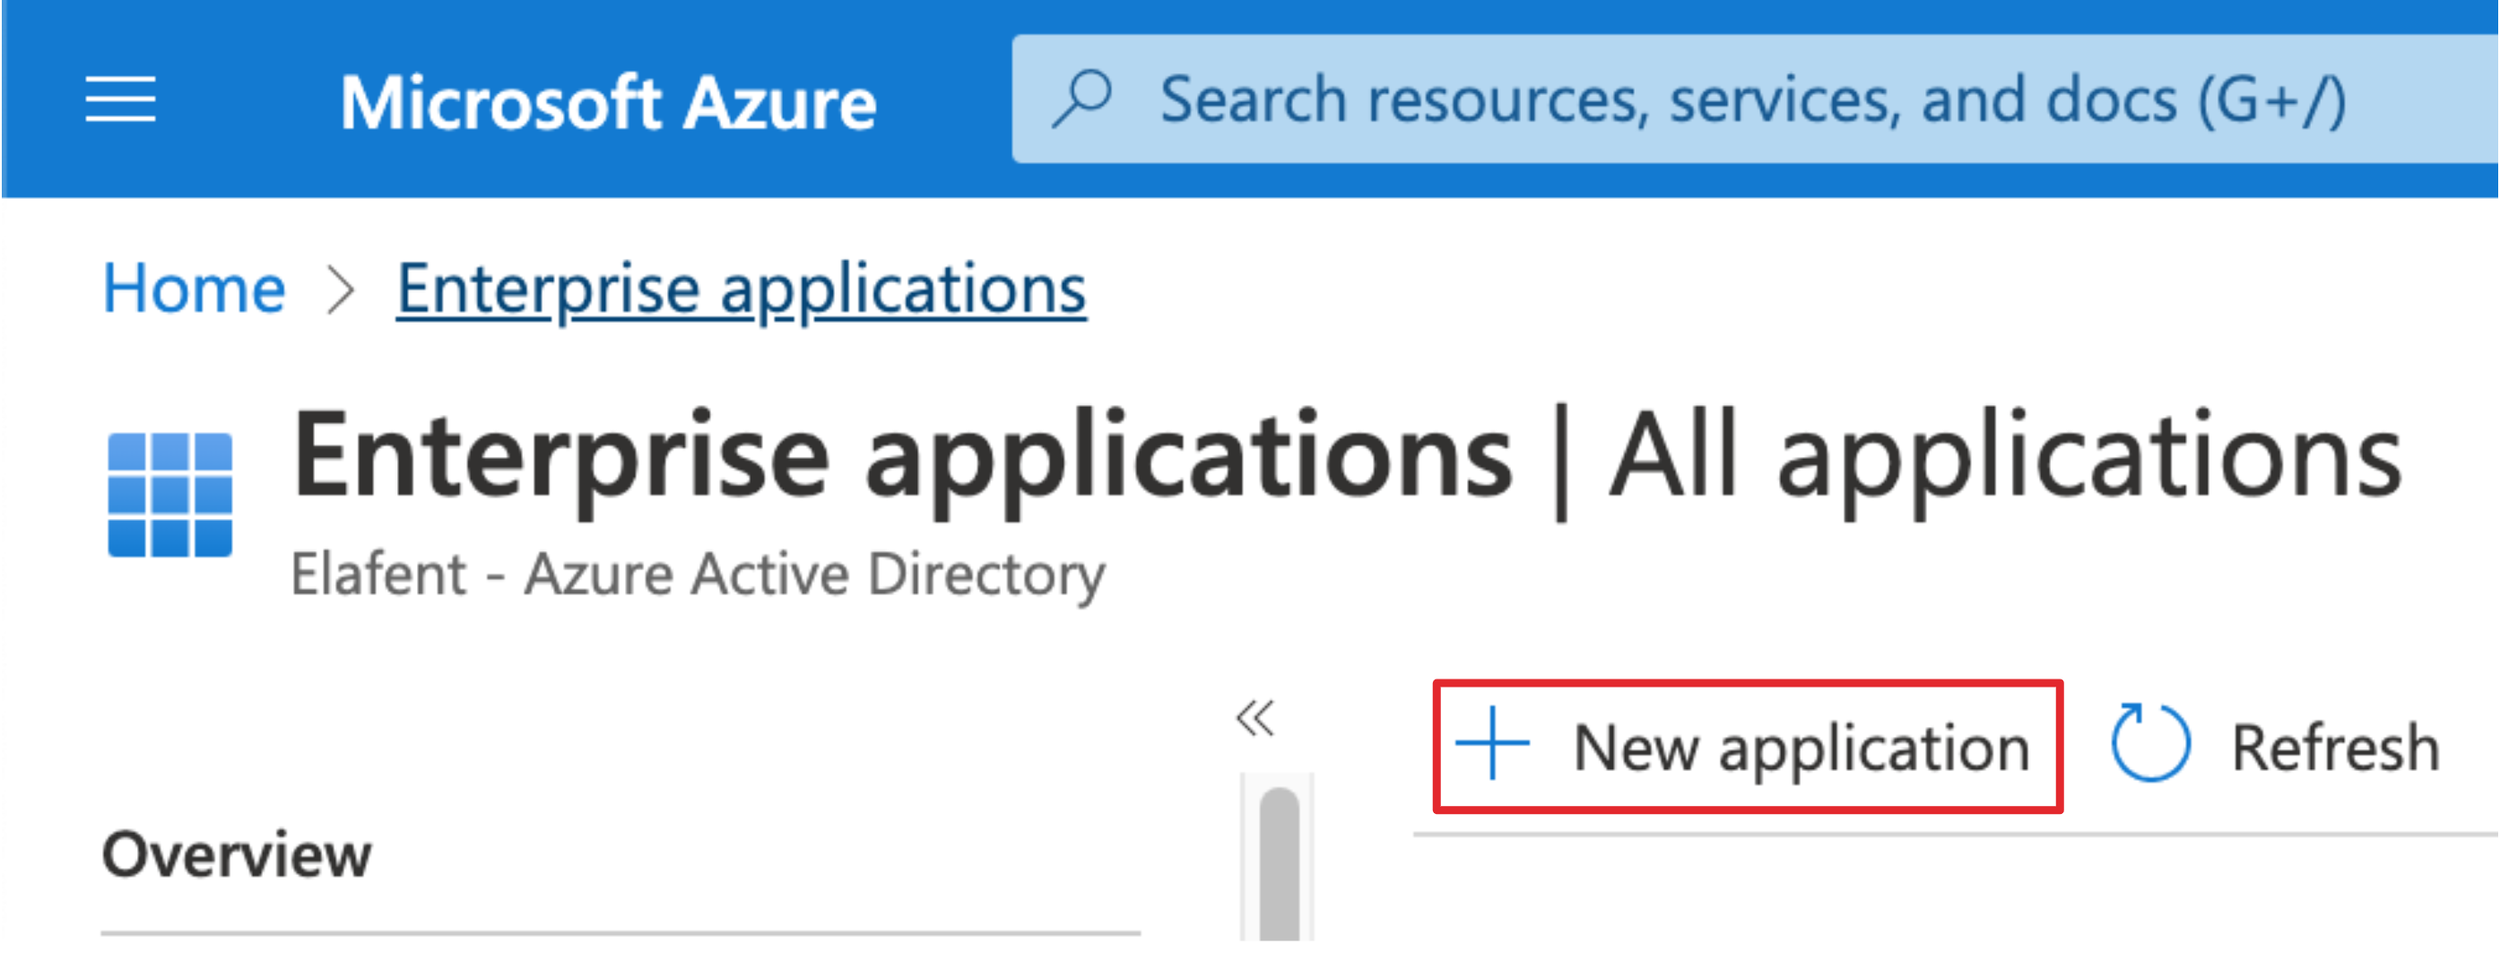
Step 2 - Click the New application button
Step 3 - Click the Create your own application button
Step 4 - Enter the basic application information into the form that displays -
Input Elafent as the name of the Application
Select the checkbox Integrate any other application you don’t find in the gallery (Non-gallery)
Click the Create button
Step 5 - Click the Properties menu item so that you can see the Logo upload form input
Step 6 - Add the Elafent image as the application logo (You can right-click on the Elafent image below and click Save Image As… so that you can upload it to the form in the previous step).
Once uploaded, click on the Save button highlighted in the previous image.
Step 7 - Click the Single sign-on menu item and then click on the SAML tile
Step 8 - Click on the Edit button on the Basic SAML Configuration tile
Step 9 - Enter the basic SAML Configuration into the form that displays -
Identifier (Entity ID) = https://app.elafent.com/auth
Reply URL (Assertion Consumer Service URL) = (contact Elafent Support to request this)
Click the Save button
Step 10 - Click on the Edit button on the Attributes & Claims tile
Step 11 - A form will load where you will be able to Add new claim & Add a new group claim
Step 12 - Enter the following claims into the Attributes & Claims form that displays by clicking on Add new claim (In the picture in Step 11) -
Unique User Identifier (Name ID) = user.othermail [nameid-format:emailAddress]
org.id = (contact Elafent Support to request this)
org.secretKey = (contact Elafent Support to request this)
user.firstName = user.givenname
user.lastName = user.surname
user.phone = user.telephonenumber
user.title = user.jobtitle
Note: org.id & org.secretKey are hard-coded strings, the rest of the properties are attributes from the User Object in Azure AD.
Step 13 - Enter the following claims into the Attributes & Claims form that displays by clicking on Add a new group claim (In the picture in Step 11) -
org.groups = user.groups
Step 14 - Click on the breadcrumb SAML-based Sign-on to redirect back to the Single sign-on configuration screen (In the picture in Step 11)
12 - Provide Elafent with the following information -
The Certificate (Base64)
Login URL
Azure AD Identifier
Logout URL
Step 15 - Click the Overview menu item so that you can provide Elafent with the Application ID
Step 16 - Create Groups & assign Users in Azure AD that map to the Groups configured in the Elafent application. For the groups within the Elafent application please contact Elafent Support to request this.
All Azure AD Group IDs created will need to be provided to Elafent
Step 17 - Click the Users & Groups menu item (From the Enterprise Applications > Elafent Application) so that you can add the User Groups to the Elafent Application that were created in Step 16.
CHECKLIST & NEXT STEPS
After completing the above steps, the Elafent App has been created in Azure AD. As outlined in those steps, Elafent Support requires the following items to be able to complete the configuration on our end -
The Certificate (Base64) - from Step 14
Login URL - from Step 14
Azure AD Identifier - from Step 14
Logout URL - from Step 14
Application ID - from Step 15
Group IDs - from Step 16
Please check that all of the above has been provided. We will then complete the configuration in the ECP and work in consultation with you to make the transition to Azure AD SSO as seamless as possible for your users.


